Rotorflight Lua Scripts
Introduction
The Rotorflight Lua scripts allow the flight controller to be configured directly from the transmitter. Once installed, the scripts add dedicated pages to the transmitter's user interface, giving access to parameters including PID tuning, rates, filters, servo settings, and governed head speed — no computer required at the field.
Prerequisites:
- OpenTX 2.3.12 or EdgeTX 2.5.0 or newer on the transmitter and:
- an FrSky SmartPort or F.Port receiver.
- or a CRSF v2.11 or newer receiver.
- or an ELRS 3.5.0 or newer receiver.
Examples:
- TX16S with an ELRS 3.5.0 or newer module and receiver.
- Taranis QX7 and a FrSky R-XSR, using the FrSky D16 protocol (as long as you don't use the ACCST D16 2.1.1 LBT firmware on the R-XSR, because this firmware has telemetry bugs).
- TX16S with a FrSky X4R using the FrSkyX2 protocol.
Enable Telemetry
The Rotorflight Lua scripts need telemetry to work correctly.
- Start the Rotorflight Configurator, go to the Receiver tab and enable Telemetry.
- On your transmitter, go to the Telemetry page and discover the telemetry sensors.
OpenTX/EdgeTX Installation
Download the latest release and copy the contents of the SCRIPTS folder to your transmitter. See also the README.
You will know if you did this correctly if the rf2.lua file shows up in the /SCRIPTS/TOOLS directory. Also Rotorflight 2 should now show up in the Tools menu of your transmitter.
Usage
On your transmitter, go to the Tools menu of your transmitter and select Rotorflight 2.
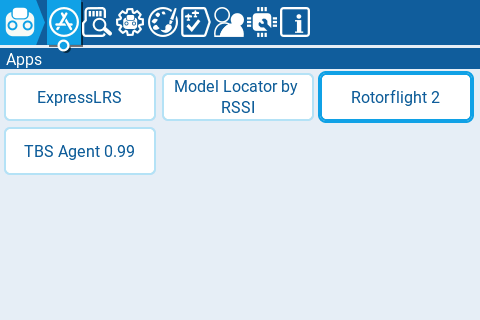
The first time you do this all scripts will be compiled and the Tools menu will be displayed again. Select Rotorflight 2 again. Now the script will wait for a connection with the receiver.

Power up the receiver. The script will retrieve the Rotorflight version. After this you will see the main menu. If you don't, make sure you've discovered all telemetry sensors.
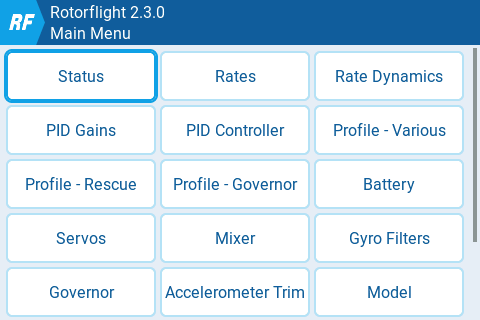
In the main menu you can select what you want to see or change. For example, after selecting PID Gains you'll see a page displaying the PIDs for the currently selected profile:
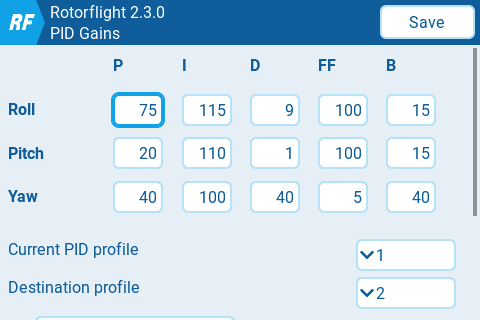
Feel free to have a look at any page. As long as you don't select Save, nothing will be changed.
Saving changes
If you want to save your changes, press the Save button (color radios) or long press the wheel/roller and select Save (black and white radios).
Status Page
The Status page displays any Arming disabled flags, which can be handy for troubleshooting why you can't start the heli.

Battery Page
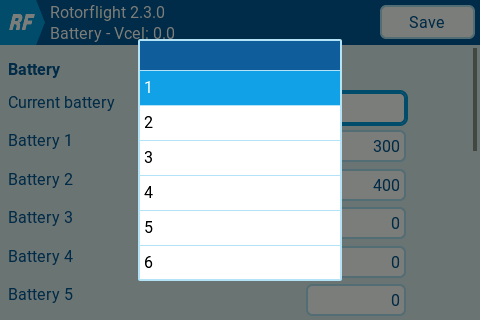
On the Battery Page you can define up to 6 battery profiles for your heli. These settings are stored on the flight controller of the heli, so each heli can have its own battery profiles.
On this page you can also specify the pack you're going to use for the next flight, so the battery capacity sensor will work correctly.
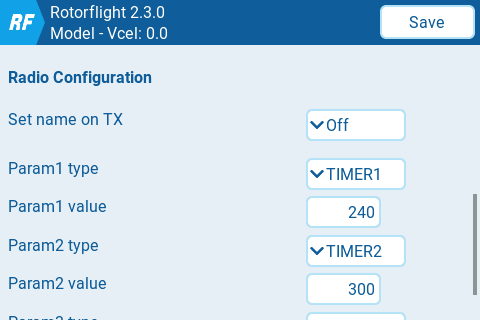
Model Page
On the Model page you can specify the duration of Timer 1/2/3, among other things. These settings are stored on the flight controller of the connected heli. This enables you to use one model on the transmitter for different helis, with each heli having its own timer settings.
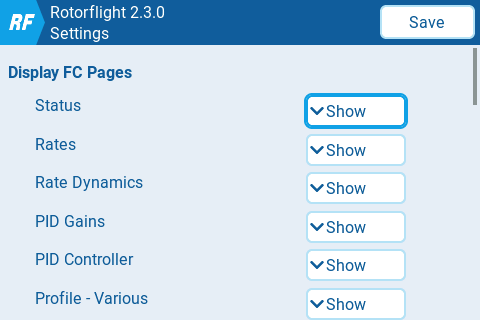
Settings Page
On the Settings page you can specify which pages should be shown on the main menu. This allows you to hide unused pages.
Background script
The optional background script rf2bg.lua features Real Time FC Clock synchronization, the Adjustment Teller and CRSF/ELRS custom telemetry.
- RTC synchronization will send the time of the transmitter to the flight controller. The script will beep if RTC synchronization has been completed. Blackbox logs and files created by the FC will now have the correct timestamp.
- CRSF/ELRS custom telemetry enables all available Rotorflight telemetry sensors when using ELRS.
- The Adjustment Teller will tell you what adjustment you just made. It supports all adjustments except profile adjustments.
There are two ways to run the background script:
- Either configure the RF Tool widget. This only works on color radios running EdgeTX.
- Or configure
rf2bgto run as a special or global function in EdgeTX/OpenTX.
1. Configure the RF Tool widget
If you have a color radio running EdgeTX 2.11 or higher, then you can use the RF Tool widget that was released in Rotorflight 2.3.0. Running this widget has several benefits:
- It will automatically show the name of the connected model.
- RF Tool can also always display one sensor value of your liking. I like Vcel (cell voltage) to be displayed always, so I don't completely exhaust my batteries while tuning.
- RF Tool defines an API that can also be used by other widgets, which makes programming Rotorflight widgets easier. The RF Stats widget for example uses the RF Tool API, and displays/updates flight statistics.
- You don't need to configure a function for running the background script anymore.
In the image below you can see the RF Tool widget in the upper left part, while the RF Stats widget sits in the lower right part of the screen.

Here's a video that explains how to set up the widget.
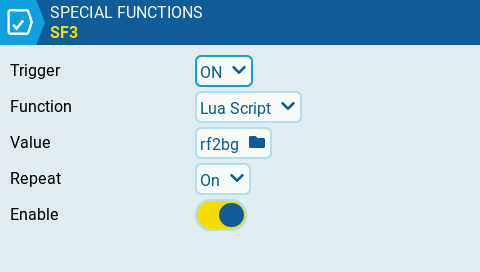
2. Or run the background script as a function
In OpenTX, configure your special function as follows to run the script automatically as soon as the model is selected ('ON').
On EdgeTX, make also sure to set Repeat to On:
Adjustment Teller
The Adjustment Teller can be enabled under Settings > Rf2bg Options > Adjustment Teller. The teller uses telemetry for getting the adjustment function and value:
- S.port/F.port: the telemetry sensors 5110 and 5111 should be available. Discover or add them if they aren't.
- RF 2.0 CRSF: the telemetry sensor FM should be available. Also do a
set crsf_flight_mode_reuse = ADJFUNCin the CLI andsave. - RF 2.1+ with CRSF/ELRS custom telemetry: make sure you include the Adjustment Function sensor.